
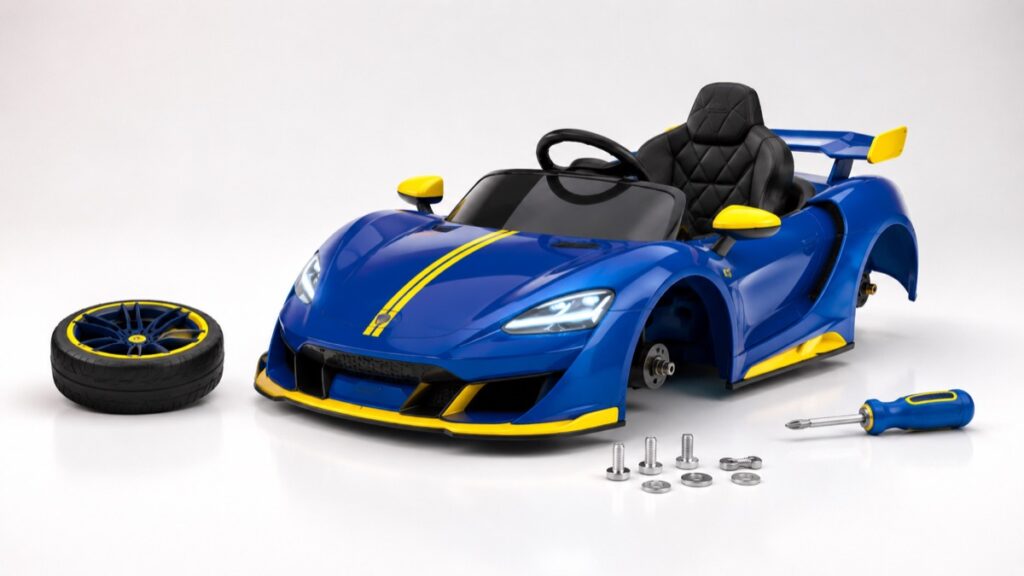
Most kids’ ride-on cars arrive partly assembled and take about 20 to 45 minutes to finish. The main jobs are attaching the wheels, seat, steering wheel, and any trim, then charging the battery before the first drive. Always follow the manual that comes with your specific model — this is a general walkthrough of what to expect and the mistakes to avoid.
What you’ll usually need
- The included hardware and any small tools supplied
- A Phillips screwdriver (a small electric driver speeds things up)
- Sometimes a small wrench or pliers for wheel retainers
- A clear, flat space and the instruction manual
Step-by-step overview
1. Unpack and check the parts
Lay out every part and match it against the manual’s parts list before you start. Confirm nothing is missing or damaged. Keep the hardware bags separated so you don’t mix up screws.
2. Attach the wheels
Wheels are usually the fiddliest step. Fit them in the correct positions (front and rear can differ), then secure them with the supplied retaining rings, caps, or pins. Make sure each wheel spins freely and is fully seated.
3. Fit the seat and seat belt
Secure the seat to the base and route the seat belt so it fastens properly. A firmly mounted seat matters for stability and safety.
4. Install the steering wheel and trim
Attach the steering wheel (checking it turns the front wheels), then add mirrors, windshield, or decorative trim as shown. Don’t overtighten plastic parts.
5. Connect the battery and controls
Plug in the battery connector and, if the model includes a parental remote, pair it following the manual before the first ride.
Charge before you drive
New batteries usually ship partly charged. Give the car a full first charge (often 8–12 hours) before use, and don’t leave it on the charger indefinitely. Our battery & charging guide explains how to get the longest life from the battery.
Common assembly mistakes to avoid
- Skipping the parts check — you don’t want to find a missing screw halfway through.
- Wheels on backwards — front and rear wheels or retainers can differ; check the diagram.
- Overtightening plastic — snug is enough; forcing screws can crack housings.
- Forcing the wheel retainers — they usually push or pin on; check orientation first.
- Driving before a full charge — this can leave you with a short, disappointing first ride.
Pre-ride safety check
Before handing it over, confirm the wheels are secure, the seat and belt are firm, the steering works, and the brakes/remote respond. Set the lowest speed for a first-time driver. Our ride-on safety checklist covers the full list.
Frequently asked questions
How long does it take to assemble a ride-on car?
Typically 20–45 minutes for one adult, depending on the model. Larger jeeps and two-seaters can take a little longer.
Do I need special tools?
Usually just a Phillips screwdriver, and sometimes a small wrench for wheel retainers. Many models include the basic hardware you need.
Why won’t my ride-on car move after assembly?
Most often the battery needs a full first charge, or a connector isn’t fully plugged in. Also check the power switch, speed setting, and — if fitted — that the parental remote isn’t holding the car.
Can I assemble it alone?
Yes, most single-seat models are a one-person job. A helper makes fitting the seat and larger two-seaters easier.
Ready to build and ride
Browse ride-ons that ship fast from our Douglasville, GA store — 12V cars, 24V cars, and the full collection.
Shopping for Christmas? See our ride-on gift picks by age & budget — order by Dec 5 for shipped delivery, or pick up free in Douglasville, Dawsonville or Stonecrest. Black Friday deals →